Each week we are placed in a local brewery one day and we brew a beer at Brewlab . They have a number of brew systems (or kits as they refer to them here).
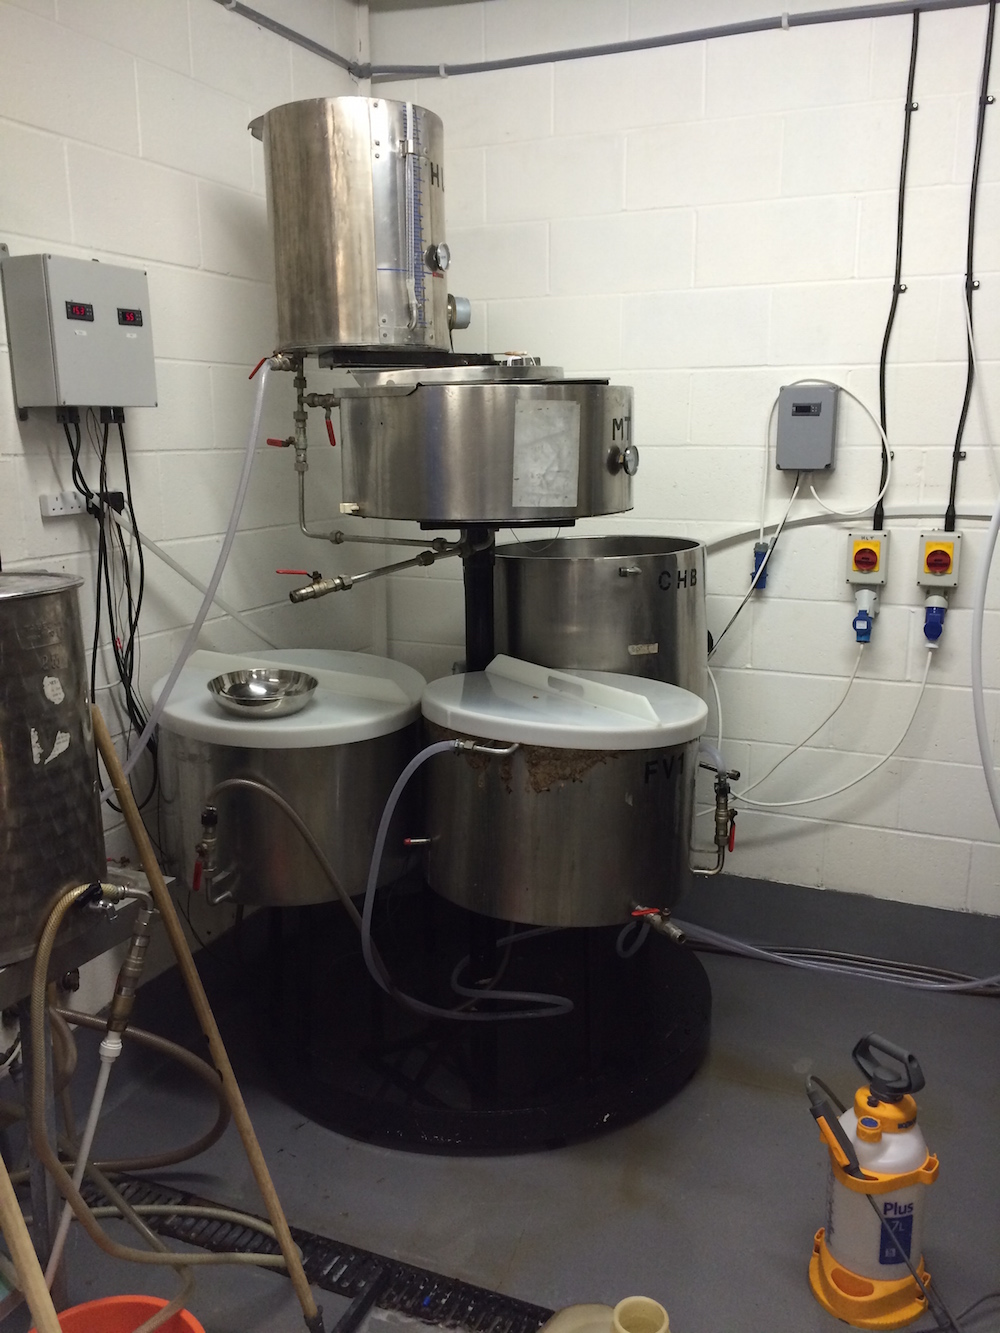
One is a 100 liter kit
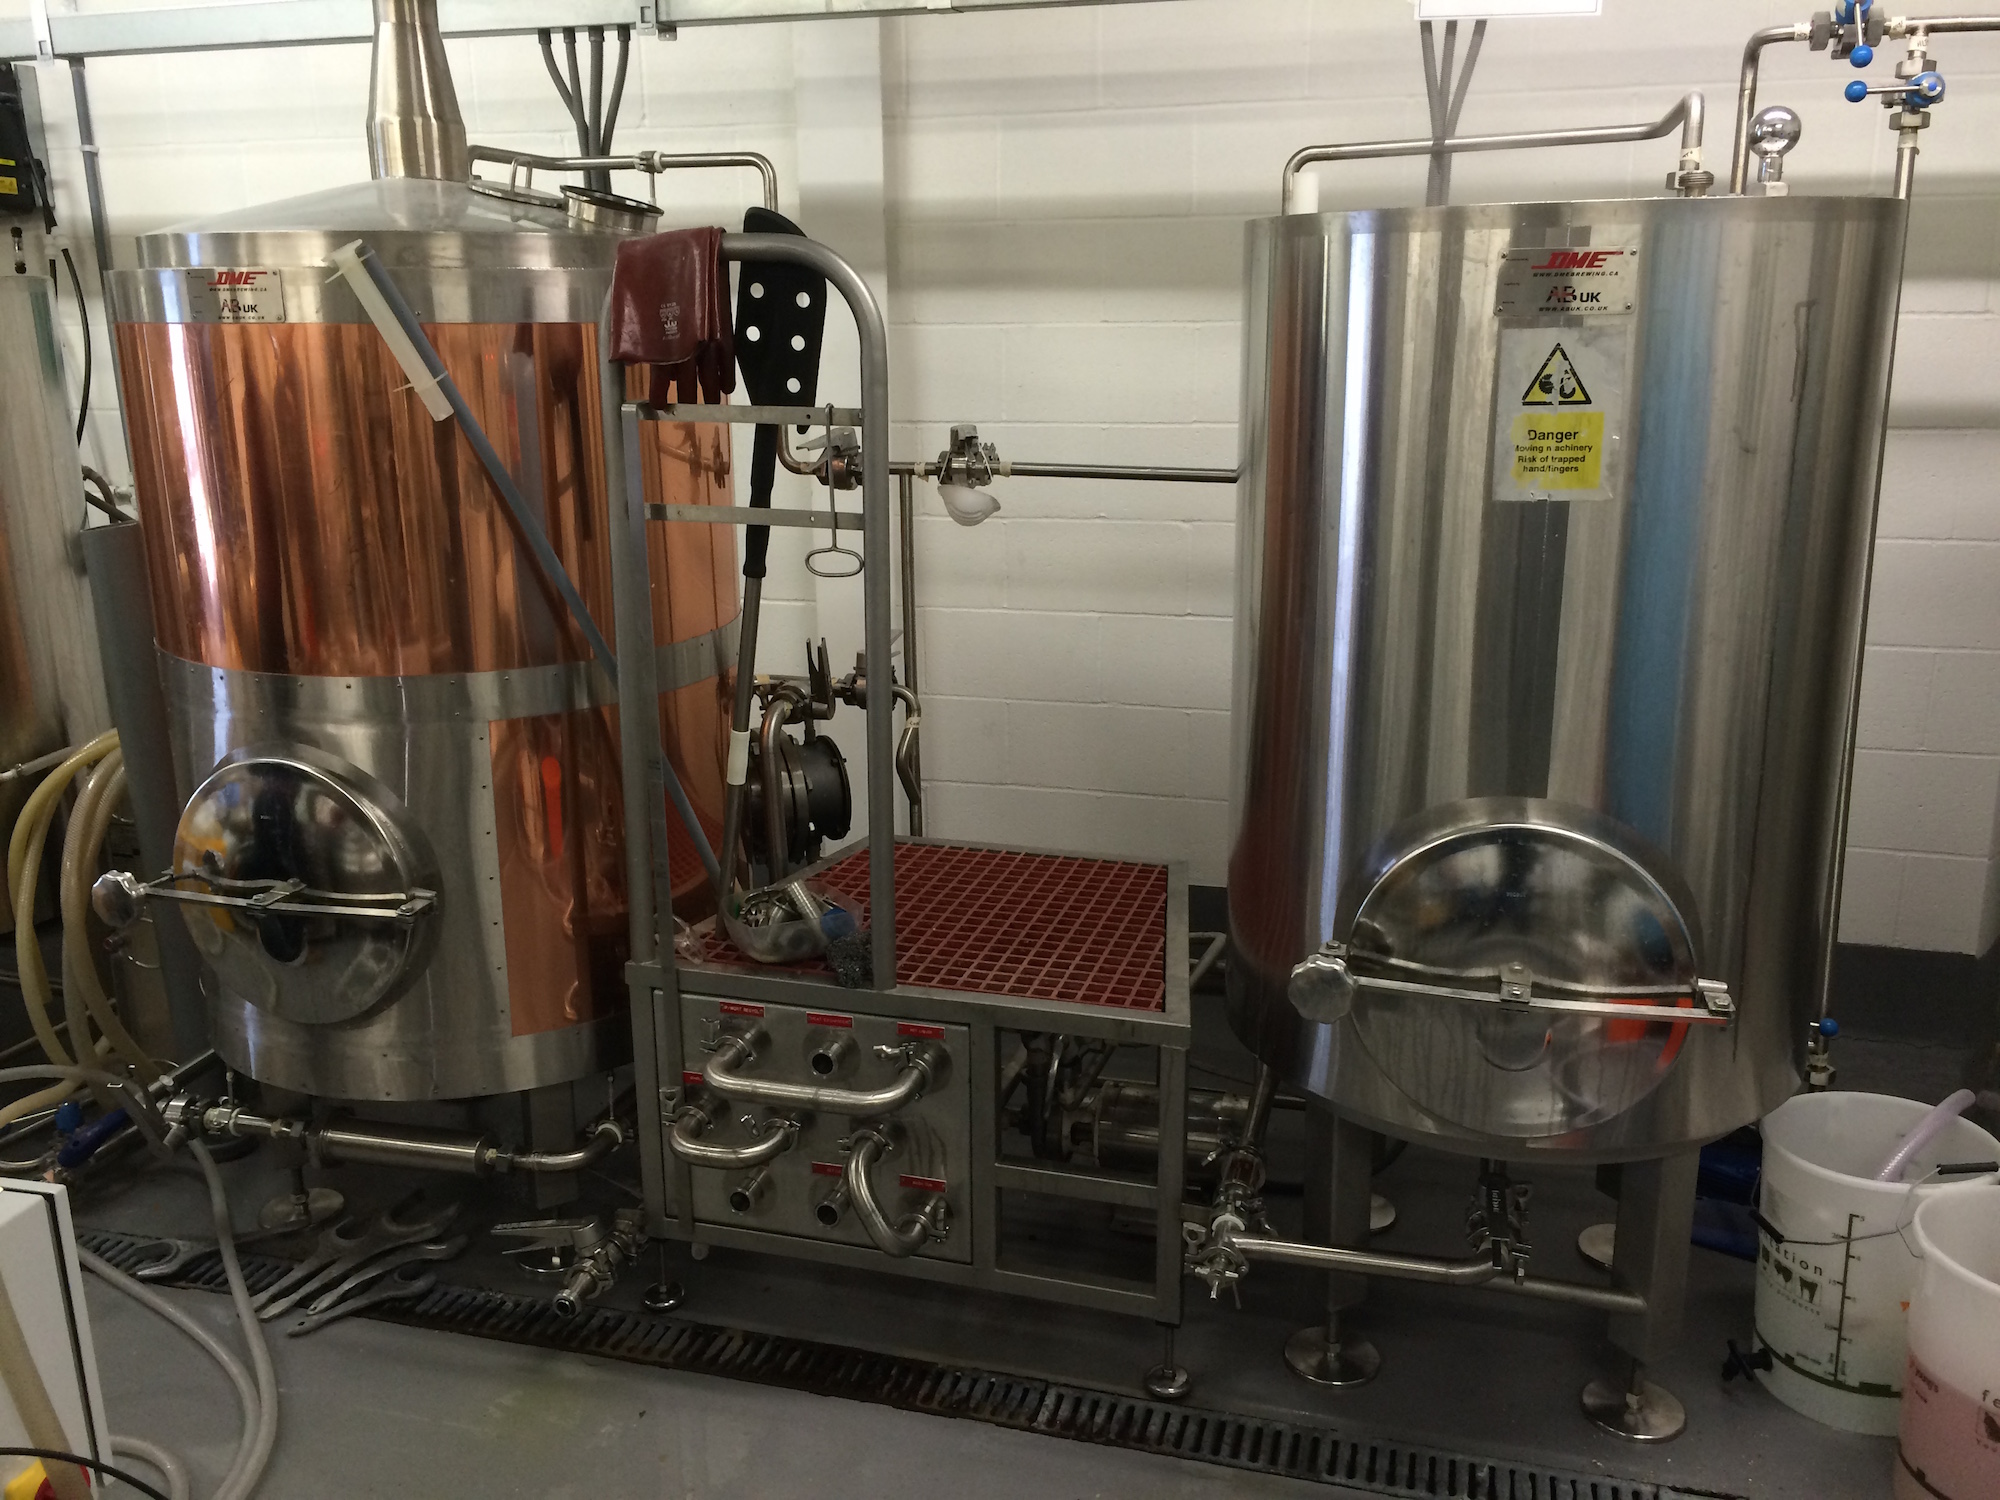
One is a 3.5 BBL kit. This is the Darwin brewery’s system. Along with BrewLab’s Laboratory services and training, they also have a brewery which sells beer to the local community.
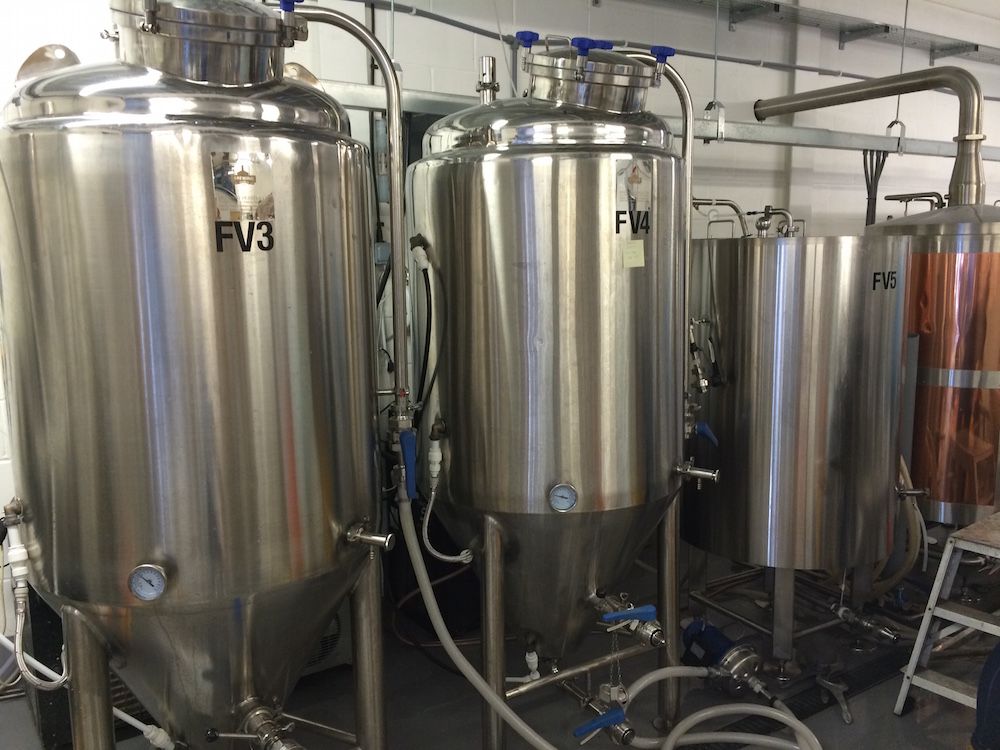
I brewed on it a few days ago and we made 500L of wort for yeast propagation. These are the fermentors to the left of the system above.
There are also about 8 stations with 25L kits.
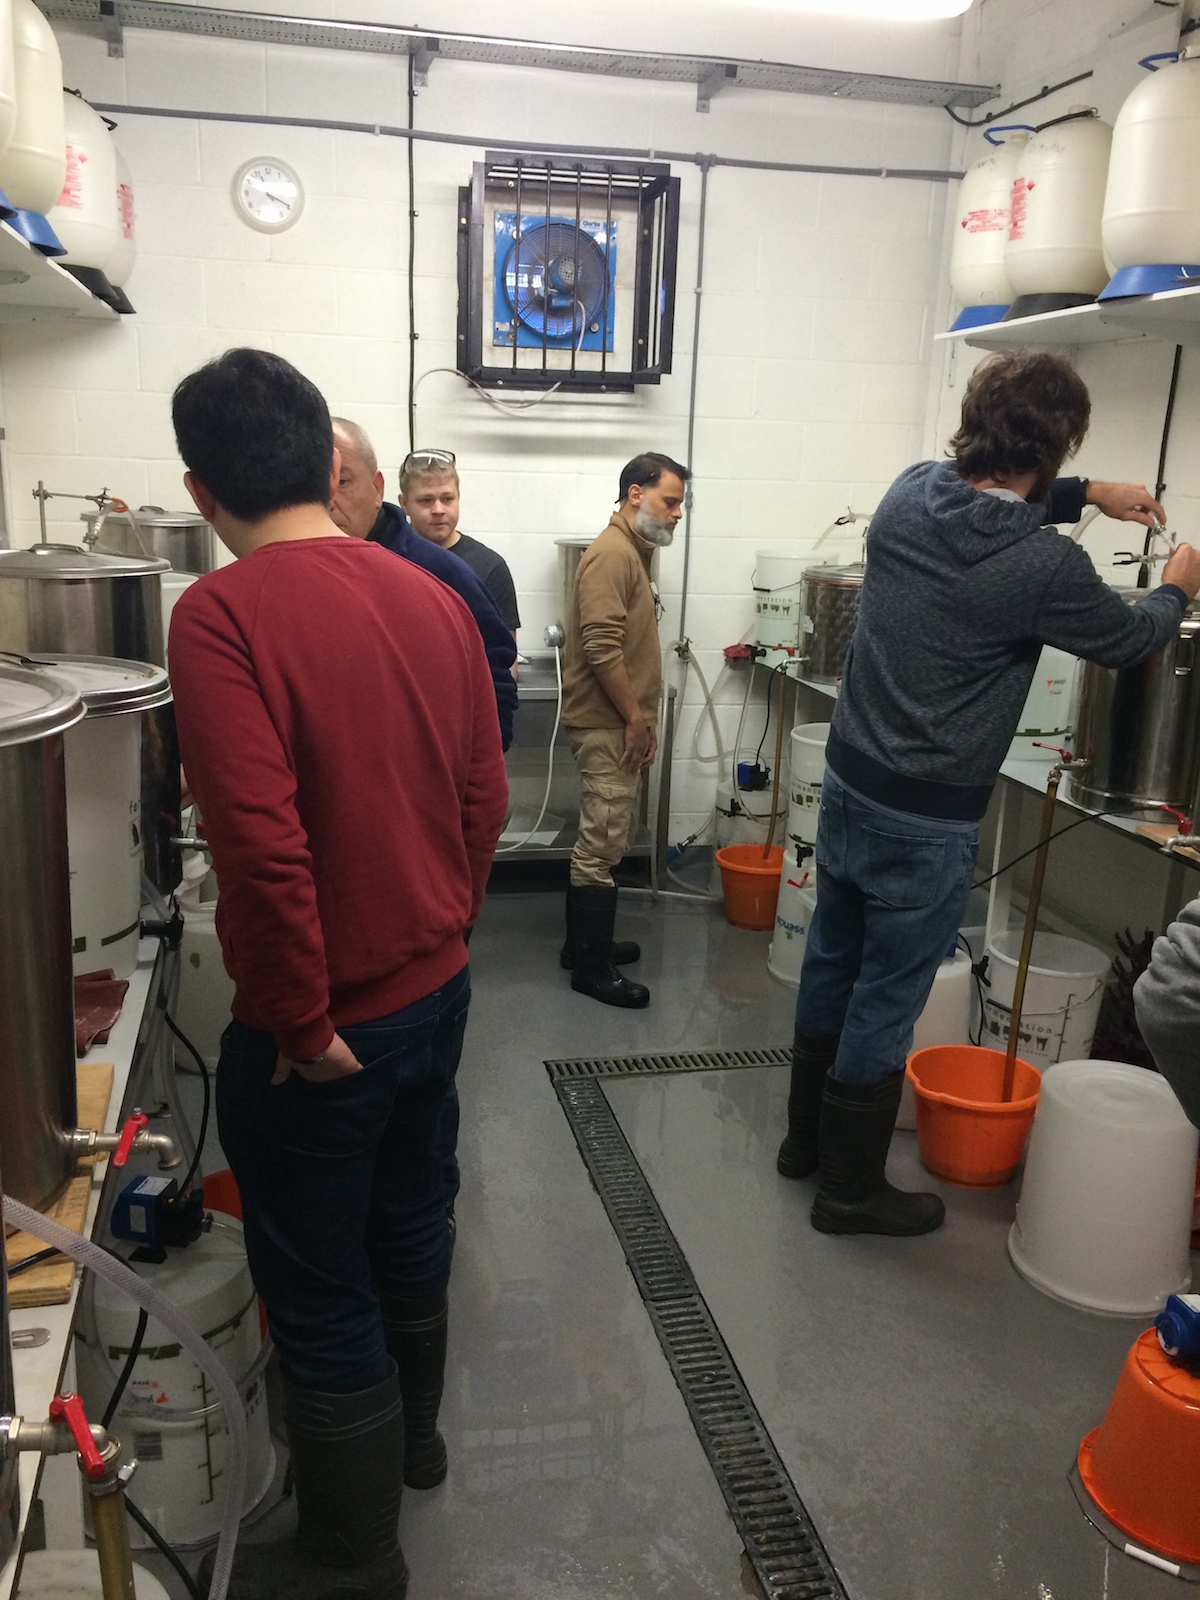
We brew on the small kits once a week. If we are assigned to brew on the two larger kits above, we are paired in twos just like we have been assigned to brew at a local brewery except we don’t leave the brewlab building.
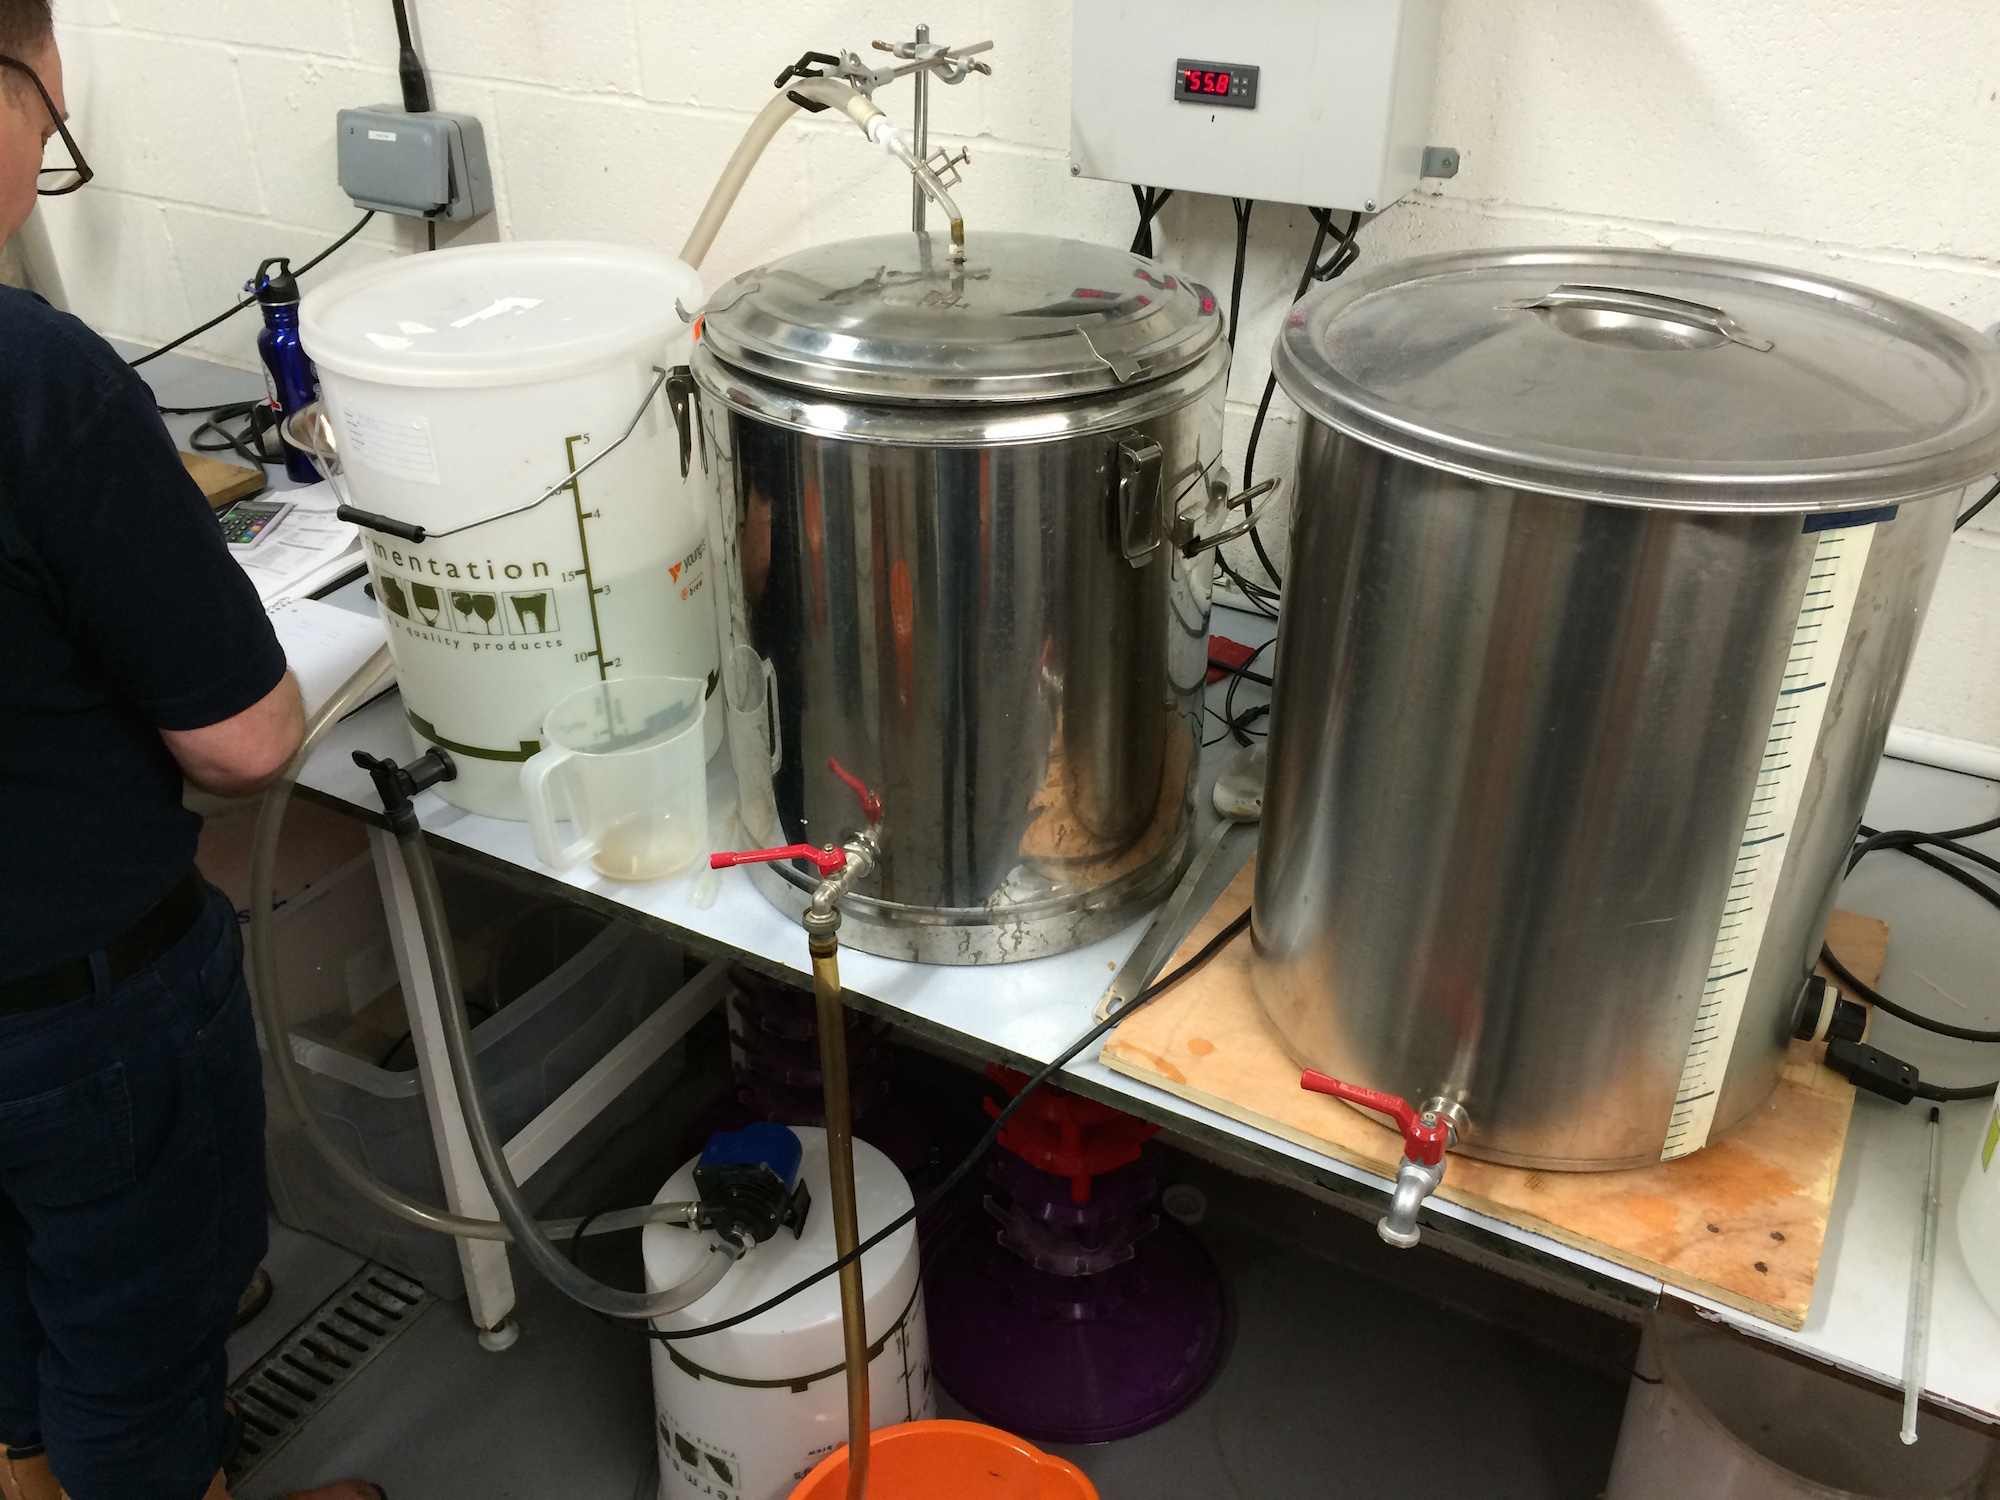
The small kits are pretty nice. The HTL on the right is PID controlled. The Mash Tun on the left is quite insulated and the top has a sparge arm. You transfer the hot liquor to a bucket (seen on the left above), then the HTL becomes the boil kettle. It works out pretty nicely.
There are some old home brewers tried and true methods employed as well. There is a stick with measurements on it to tell how much wort is in your boil kettle. The wort is drained out of the mash tun into a bucket with markings telling you how many liters are in the bucket, so you know your volume going into the boil kettle. The stick is used at the end of the boil to determine your end volumes and to figure out how much liquor to add back into the boil to hit your target gravities (called liquor back).
What I find very cool is learning the administrative aspect of the brew.
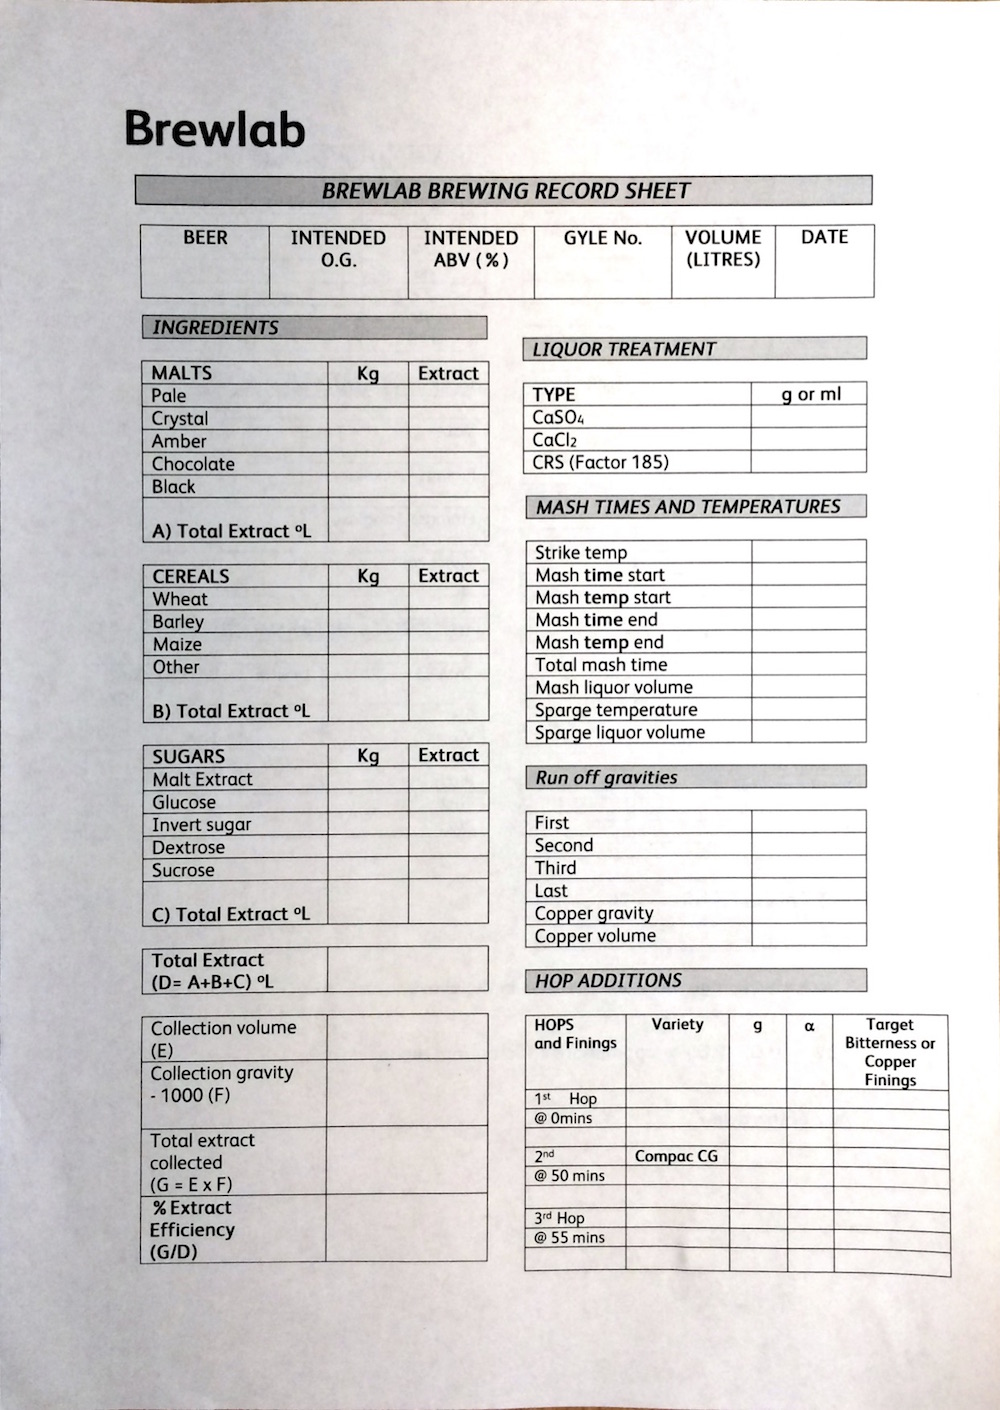
This is just the front page. The back is a full page of information. I really like being this detailed about a brew now AND writing so I can read it. Great stuff.
Here’s an interesting pippet:
You must be logged in to post a comment.